

How to Customize Post Form Settings
To configure post form settings in WP User Frontend, follow these steps:
- Navigate to WP User Frontend > Post Forms.
- Select an existing form or create a new one.
- Click on Settings and go to Post Settings.
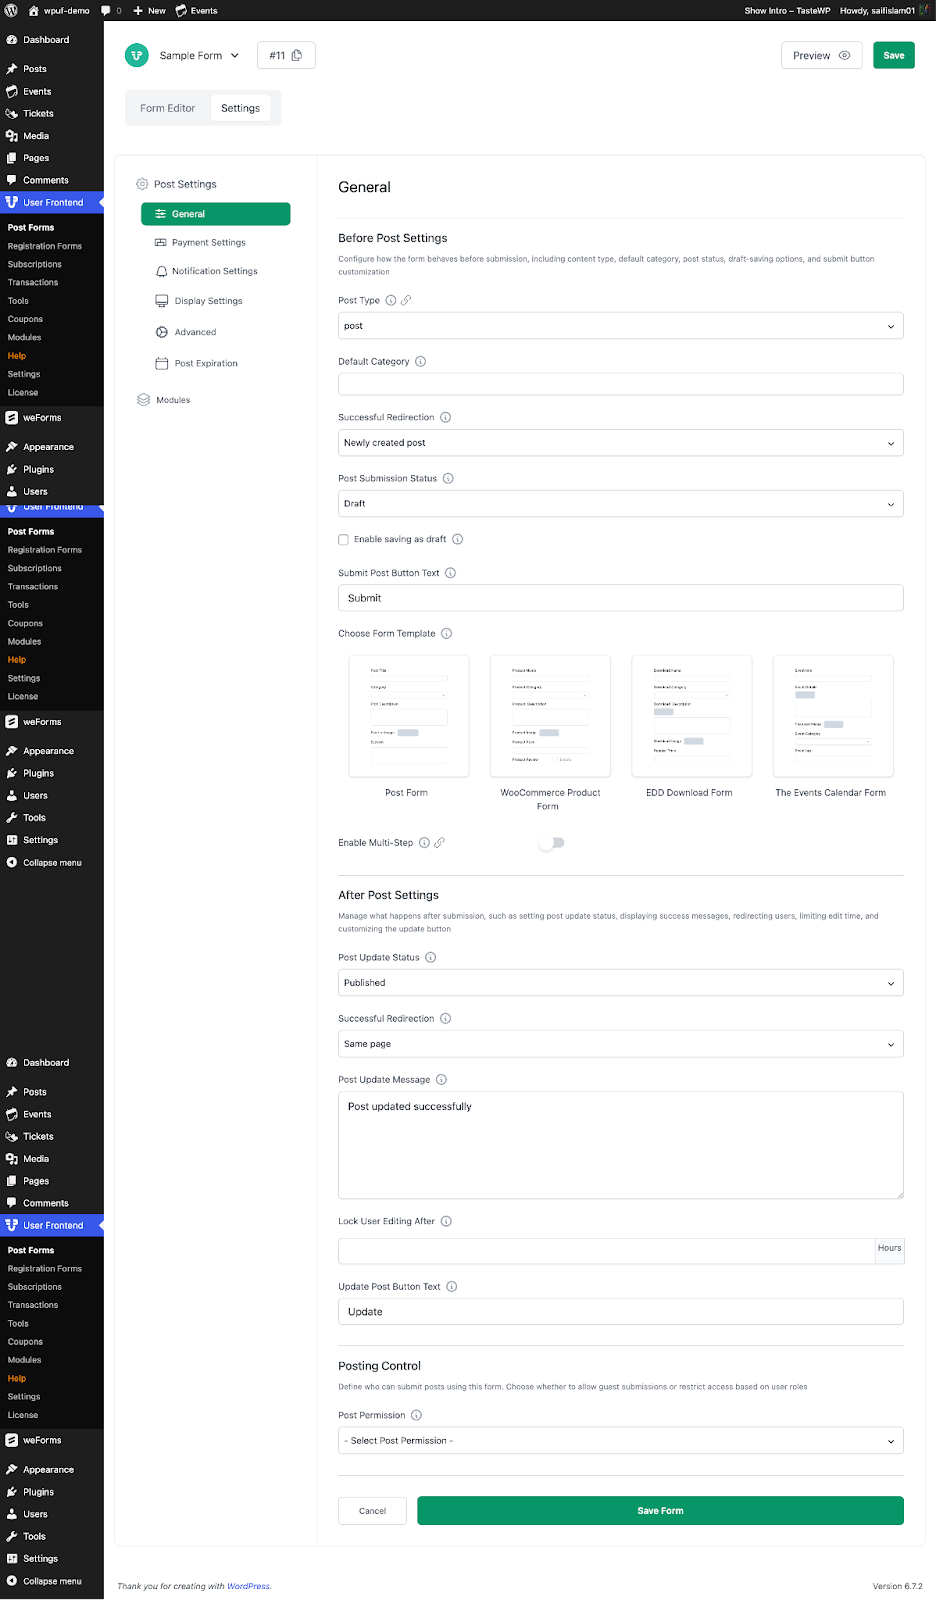
Post Form Settings Overview
Section titled “Post Form Settings Overview”General –
Section titled “General –”Before Post Settings:
1. Customize Post Form Settings
Section titled “1. Customize Post Form Settings”This section allows you to customize various aspects of your post submission form.
2. Post Type
Section titled “2. Post Type”- If you have created any custom post types, they will be listed here.
- Choose the post type where submitted content will be stored.
3. Default Post Category
Section titled “3. Default Post Category”- Select a default category for user-submitted posts.
- If a user does not select a category, this default category will be applied.
4. Redirect After Submission
Section titled “4. Redirect After Submission”- Define the page where users will be redirected after submitting a post.
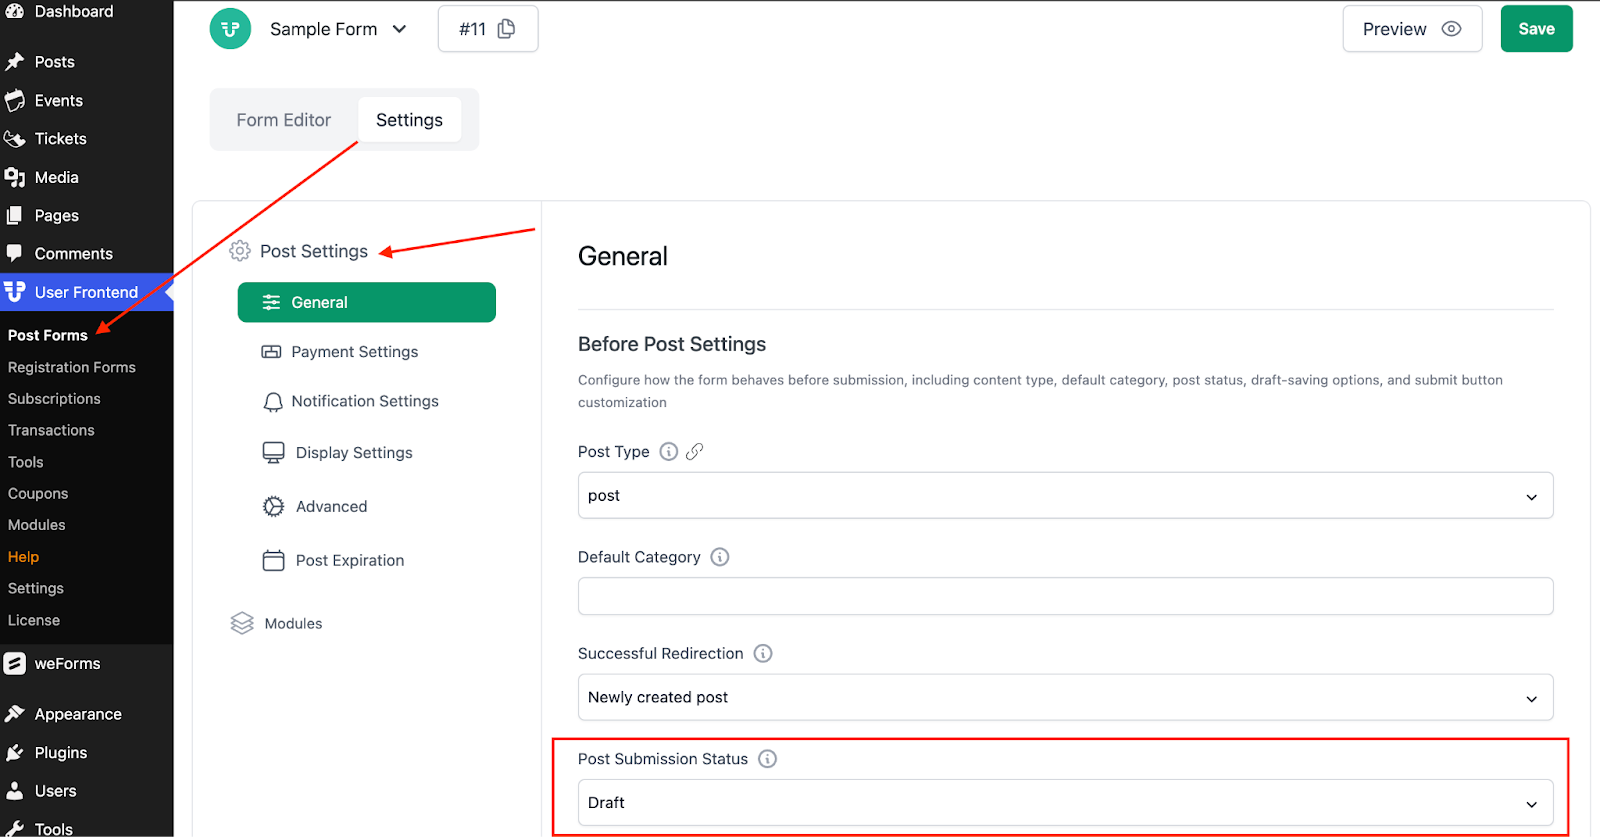
5. Post Submission Status
Section titled “5. Post Submission Status”- Set the default post status for submitted posts.
- Options include Published, Pending Review, Draft, or Private.
- Click the Save Form button to apply changes.
6. Submit Post Button Text
Section titled “6. Submit Post Button Text”- Customize the text displayed on the submit button.
- By default, it is “Create Post”, but you can change it to any desired text.
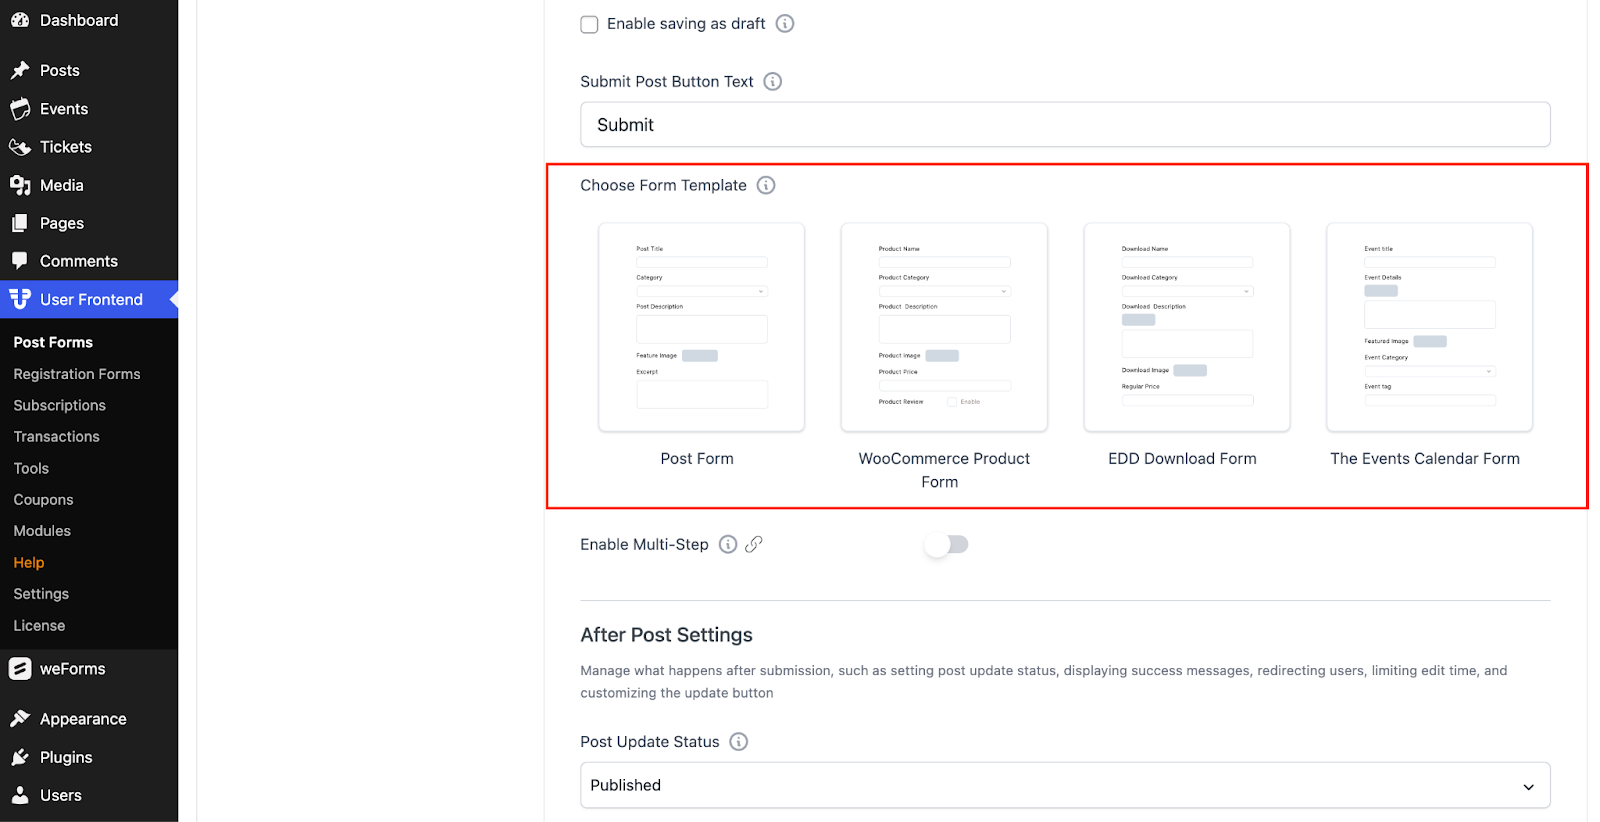
7. Form Template
Section titled “7. Form Template”- Choose a predefined form template from the dropdown menu.
8. Enable Multistep Submission
Section titled “8. Enable Multistep Submission”- If enabled, users can submit forms in multiple steps.
- Works well for long or complex forms.
- If “Post Draft” is enabled, users can save drafts at every step.
After Post Settings:
Section titled “After Post Settings:”9. Post Update Status
Section titled “9. Post Update Status”- Set the status for updated posts.
- Options include Published, Pending Review, Draft, or Private.
- Click the Save Form button to apply changes.
10. Successful Redirection
Section titled “10. Successful Redirection”- Define the page where users will be redirected after submitting a post.
11. Post Update Message
Section titled “11. Post Update Message”- Customize the message after a post is successfully updated.
12. Lock User Editing After
Section titled “12. Lock User Editing After”- Set the number of hours which users can no longer edit their submitted post
13. Update Post Button Text
Section titled “13. Update Post Button Text”- Customize the text on the update button.
Posting Control:
Section titled “Posting Control:”14. Post Submission
Section titled “14. Post Submission”- Select who can submit posts using this form
- Set post permission for Guest users or Role based users
Thats it.