

Frontend User Dashboard
To utilize the user dashboard, first configure the global settings as you like from wp-dashboard→User Frontend→Settings→Dashboard.
The Dashboard page has all the global settings for user dashboards on your site. To learn about configuring this page,read this documentation.
Configuring frontend user dashboards
Section titled “Configuring frontend user dashboards”A user can see all his posts in his WPUF user dashboard.
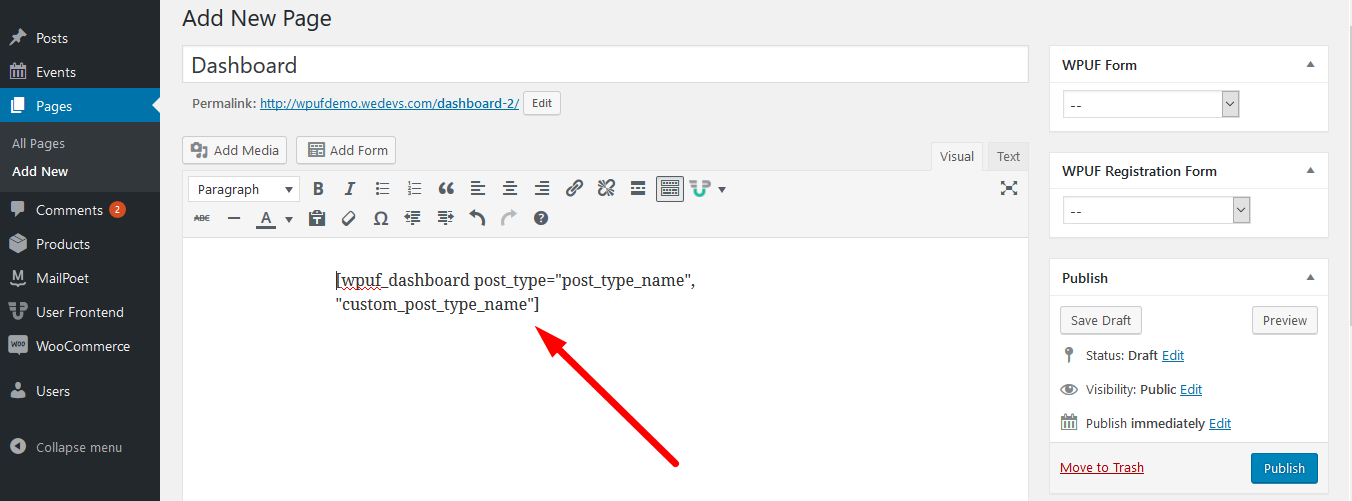
- Create a page, e.g., Dashboard.
- To use a single post type, insert this shortcode in the body of the page
[wpuf_dashboard post_type="post_type_name"]. - To allow multiple post types, insert this shortcode:
[wpuf_dashboard post_type="post_type_name, custom_post_type_name"].
Note: Alongside existing previous attributes, you can pass any attributes that accept WP_Query (https://developer.wordpress.org/reference/classes/wp_query/) Add this link for WP_Query except for attributes that accept multiple values, i.e., author__in and category__in, which are named using ‘__ ’. This shortcode accepts author_in and category__in, where you can pass a username and category name in a comma-separated value. For example
[wpuf_dashboard category=‘on’ orderby=‘date’ order=‘desc’ post_type=‘post’ author__in=‘test_expiry,another_author’ category__in=‘small shirts, shirts, new term, and].
Customize dashboard with attributes
Section titled “Customize dashboard with attributes”Now admin can customize the dashboard according to his needs by using some newly added attributes like ‘form_id', ‘category', ‘featured_image', ‘meta',” or ‘excerpt'.
Admins can show only the posts of their preferred form by adding the form ID's inside the [wpuf_dashboard] shortcode. As an example, if we can show only the posts of certain forms with IDs 101 and 102, then the admin can use the shortcode as[wpuf_dashboard form_id="101"]. This shortcode will output the default posts of WPUF Forms that contain id=101.
If you want to show custom posts of a specific form, then you have to use post_type attribute along with the form ID. Example: [wpuf_dashboard form_id="99" post_type="product"]
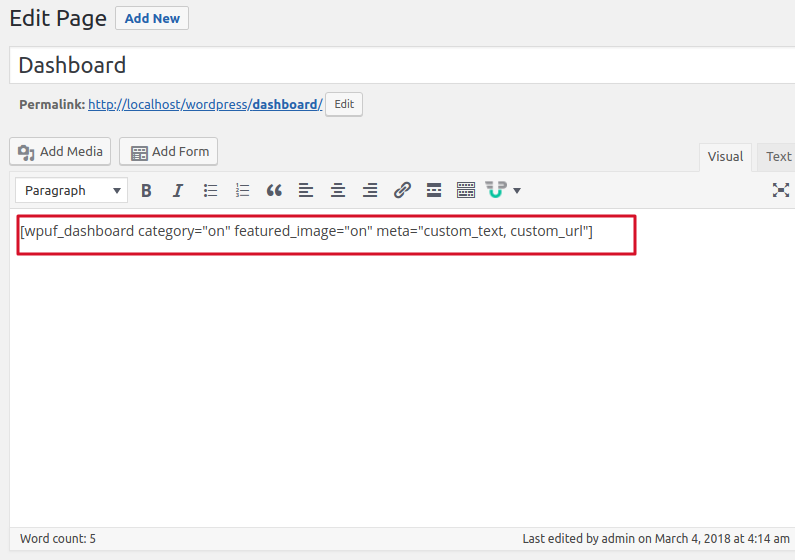
Meta keys can be shown as[wpuf_dashboard meta="meta_key1, meta_key2"].
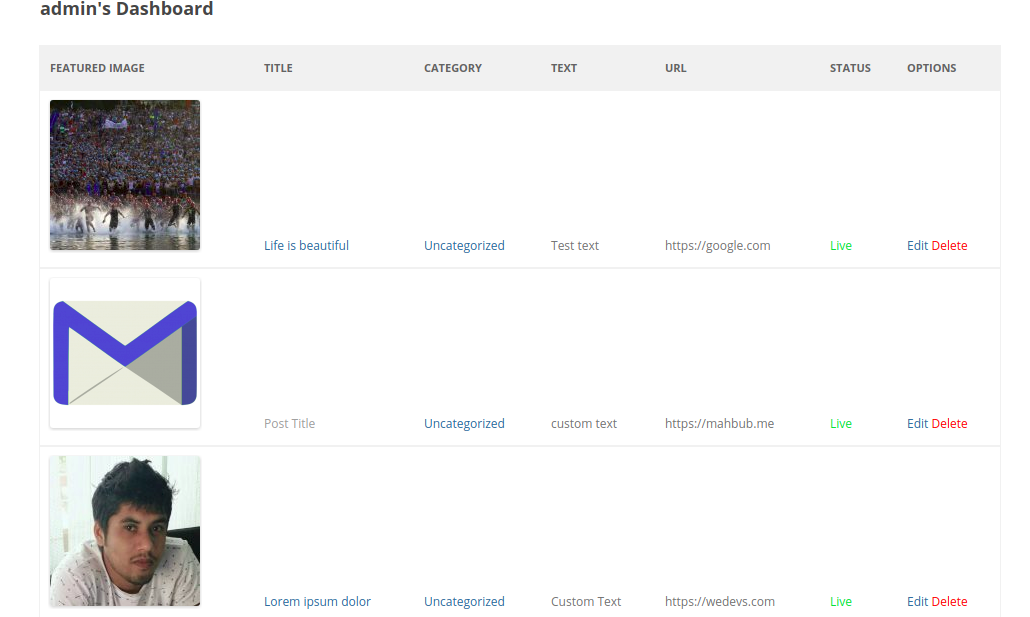
The category of the post can be shown as[wpuf_dashboard category="on"]. Featured images can be shown by[wpuf_dashboard featured_image="on"]. Excerpts can be shown as[wpuf_dashboard excerpt="on"].
Payment column attribute on the dashboard
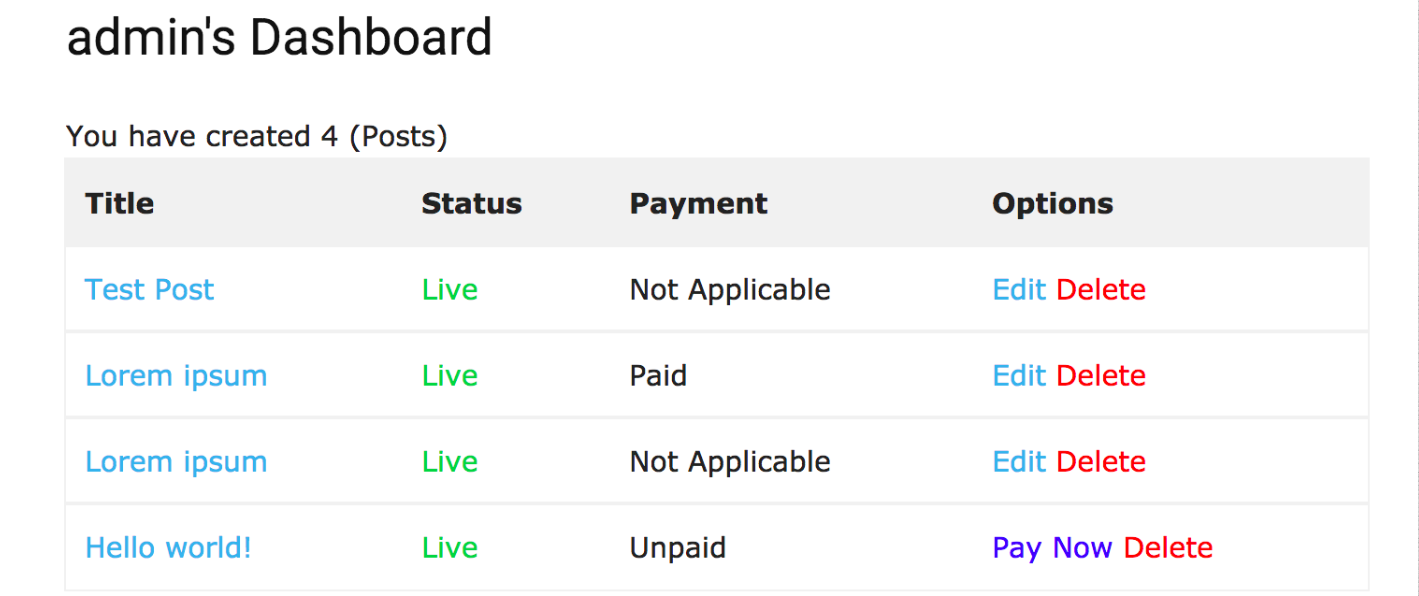
Section titled “Payment column attribute on the dashboard”The payment attribute on the dashboard will by default be turned on. To turn the Payment column off, add the following shortcode to your Dashboard page:[wpuf_dashboard payment_column=”off”]. To turn it on again, use the following shortcode:[wpuf_dashboard payment_column="on"].
You can use this shortcode for any custom post type, like events, products, etc., in the following way:
[wpuf_dashboard post_type=“event” payment_column="on"]
Frontend view settings
Section titled “Frontend view settings”To configure how many posts will be displayed on a page, you can configure the settings atSettings→Dashboard→ Posts per page. There are other settings for the dashboard.
- You can show the user bio in the dashboard
- Show the count of posts.
- Show the featured image and set the size to display.
This completes the configuration.