

Activating and deactivating WPUF Modules
Newly Introduced ‘Modules'
Section titled “Newly Introduced ‘Modules'”Previously known as extensions or add-ons, WPUF now has modules in newly transformed packages that vastly improve the user experience. The modules work the same way as the extensions, except that they are much easier to manage.
You can now view and handle all your add-ons and extensions on a single page. You will also get live updates for all the modules from now on directly from within the plugin. And also, no more manual downloads and installations!
Navigation
Section titled “Navigation”To access modules, navigate to wp-admin->WPUF->Modules.
Previously, each extension had to be purchased separately, uploaded in zip files, and then installed. But now you can simply go to the in-built Modules page to find all the modules in your package.
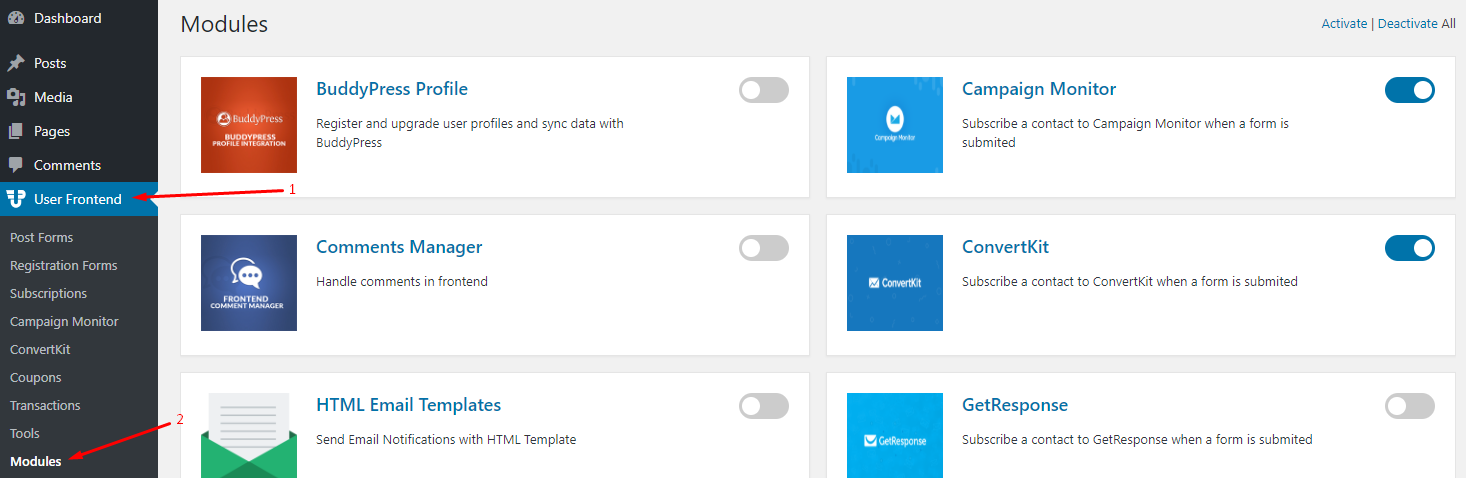
Use the toggle button to activate and deactivate the modules.
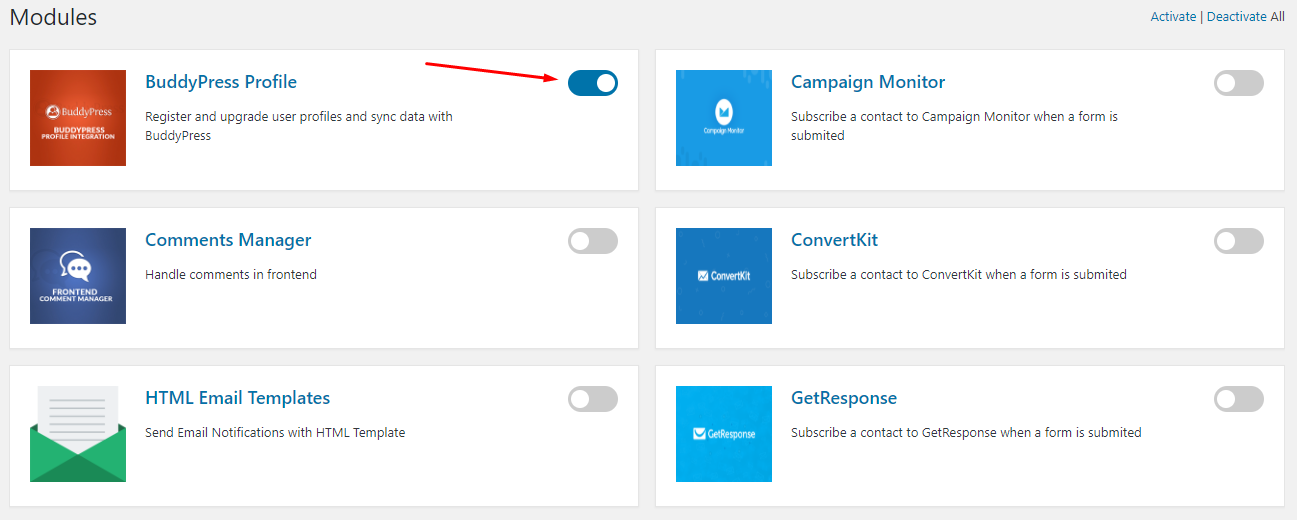
Activating a module
Section titled “Activating a module”To activate a module, simply turn on the toggle button present on the top right side of each integration. When you turn on a module, it will display that it's activating, as shown below.
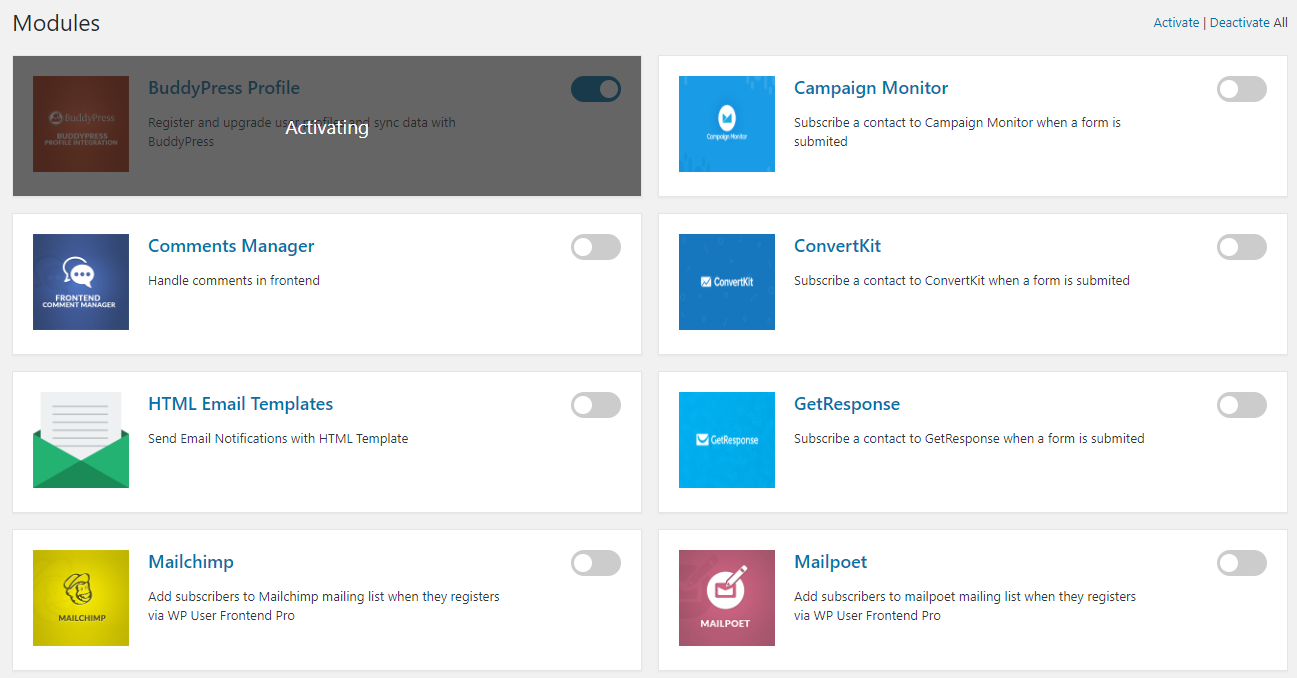
After getting activated, the toggle bar will turn blue.
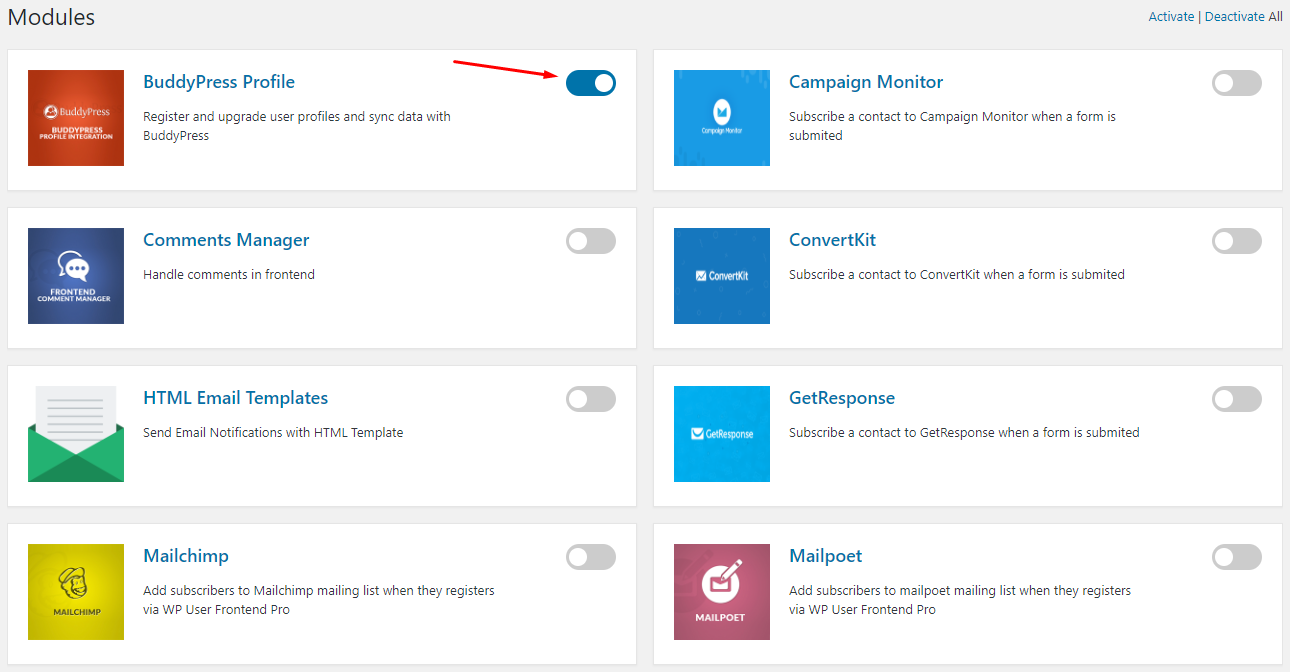
And that's all you have to do to install and activate a module.
Deactivating a module
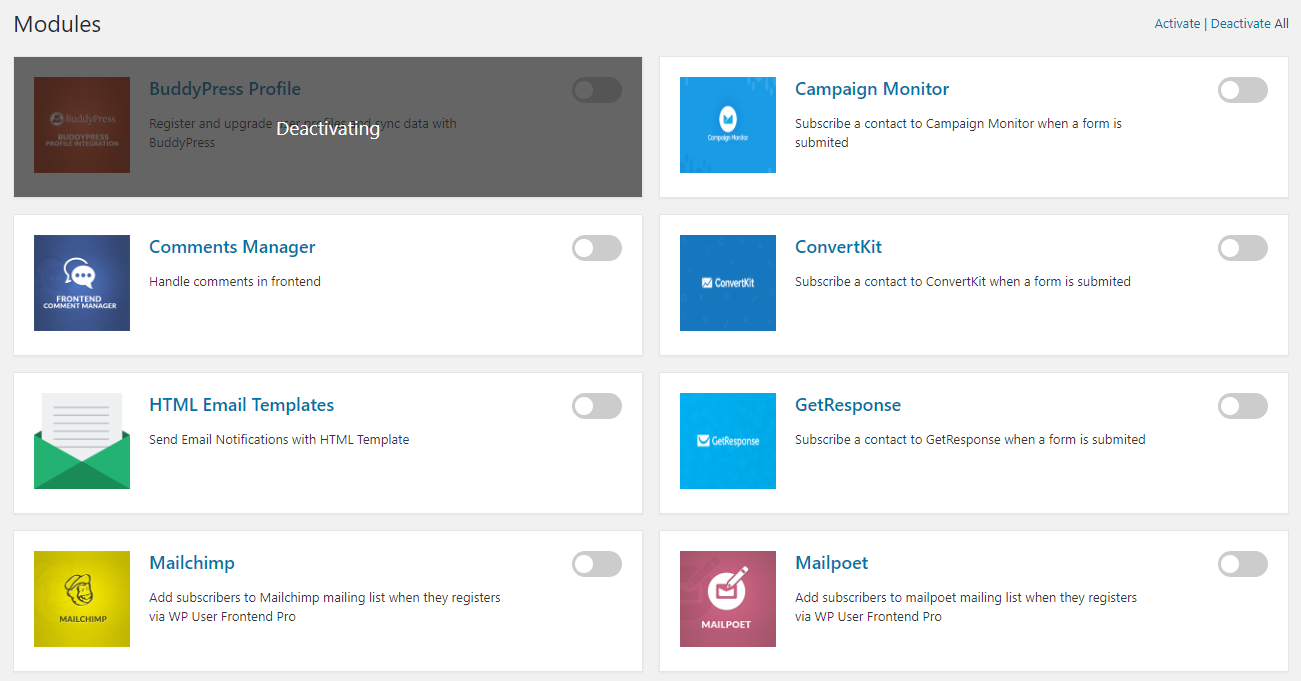
Section titled “Deactivating a module”Similarly, to stop using a previously active module, turn it off by simply clicking on the toggle button. When you turn it off, it will display that it's deactivating, as shown below.
Activating all
Section titled “Activating all”In case you want to activate all the modules at once instead of turning each module separately, you will have to use the ‘Activate‘ option in the top right corner of the page:
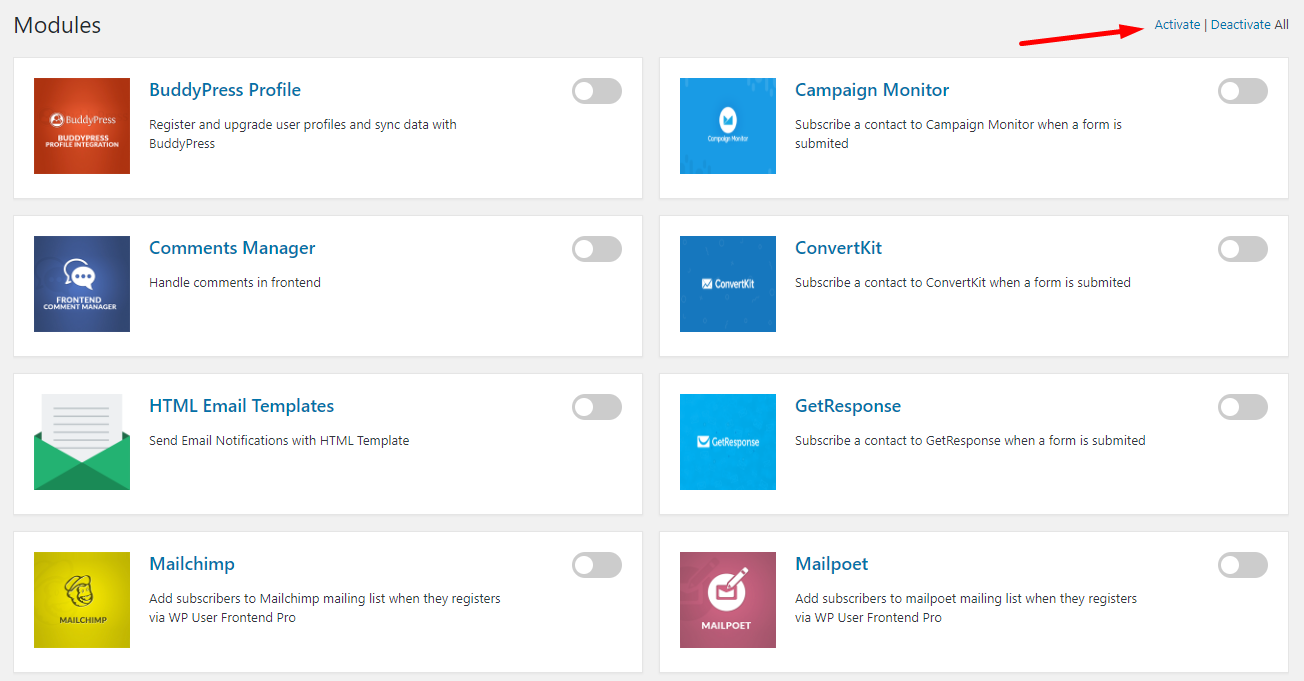
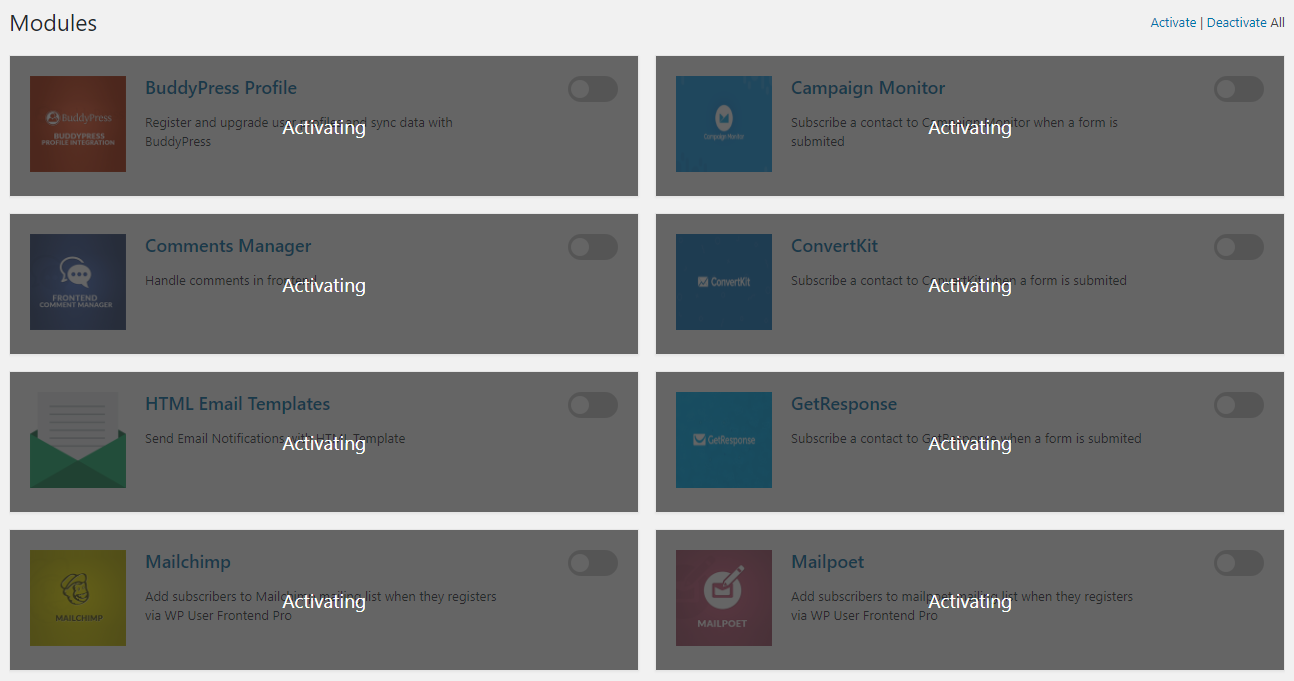
On clicking on the ‘Activate‘ option, you will see the following screen that indicates that all the modules are getting activated:
Deactivating all
Section titled “Deactivating all”To deactivate all the modules in a body, select the ‘Deactivate‘ option from beside the ‘Activate‘ option.
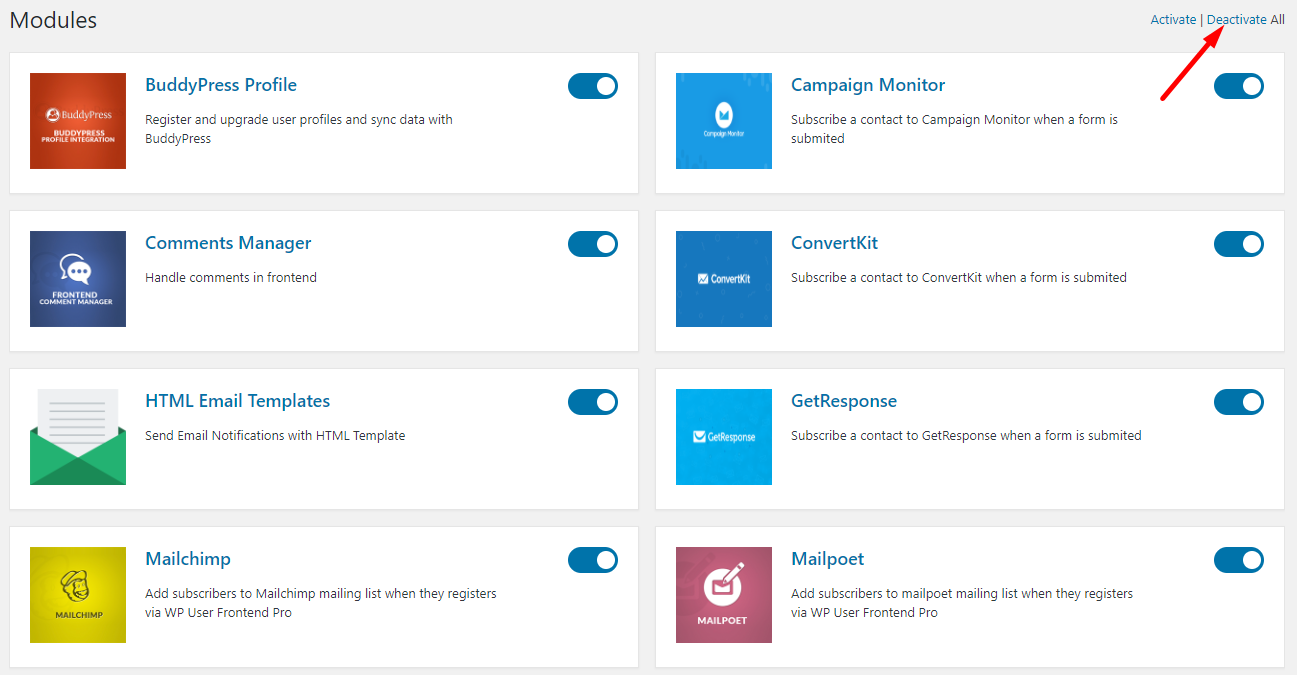
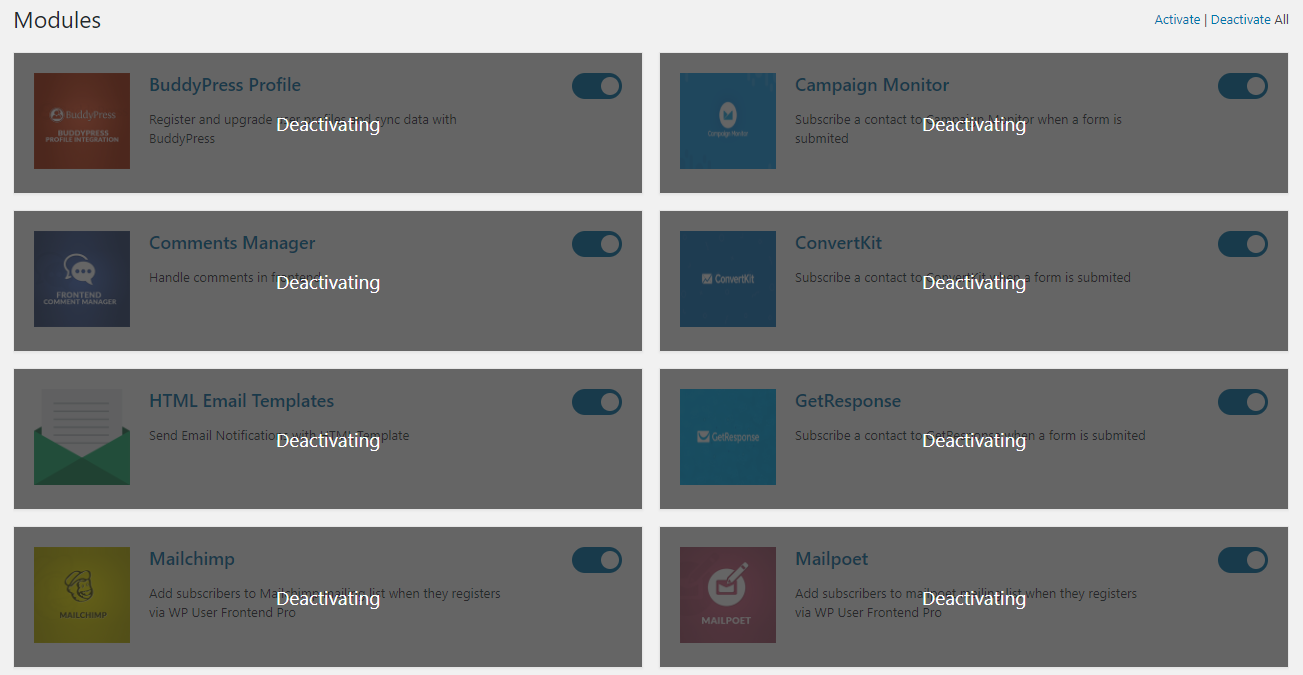
When you click on the ‘Deactivate‘ option, all the toggle bars will show that they are getting deactivated:
This is how you can activate and deactivate the modules of WP User Frontend Pro.